ElasticSearch 基础 文字教程
声明:本文大部分截图来自视频 https://www.bilibili.com/video/BV17a4y1x7zq,请尊重版权,转发请注明来源。
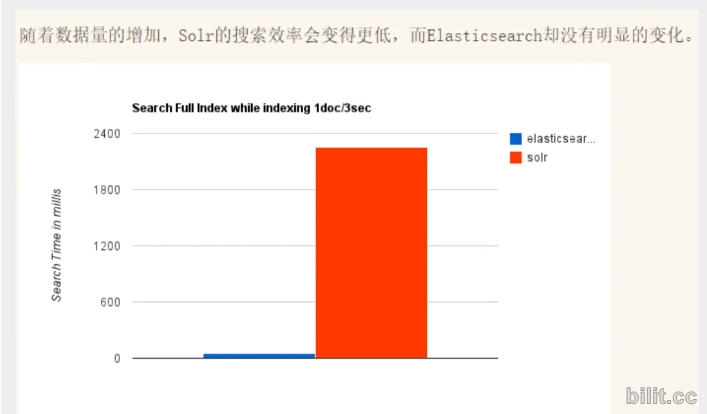
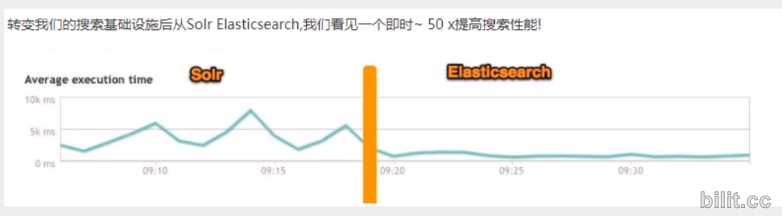
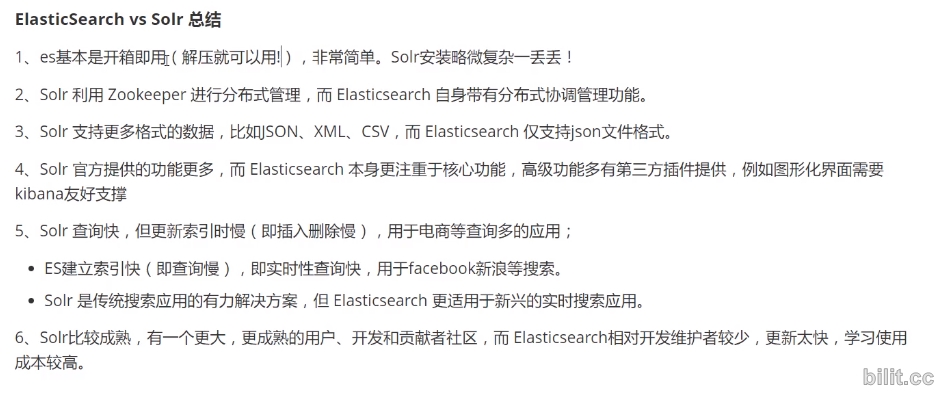
看看ElasticSearch做什么
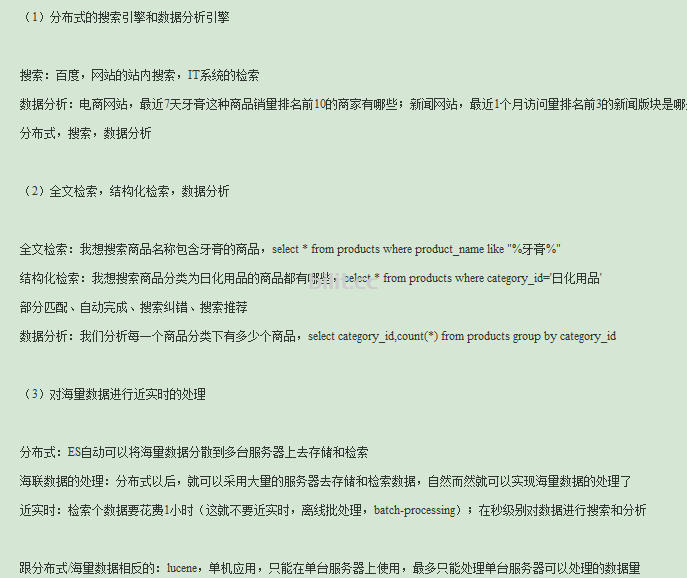
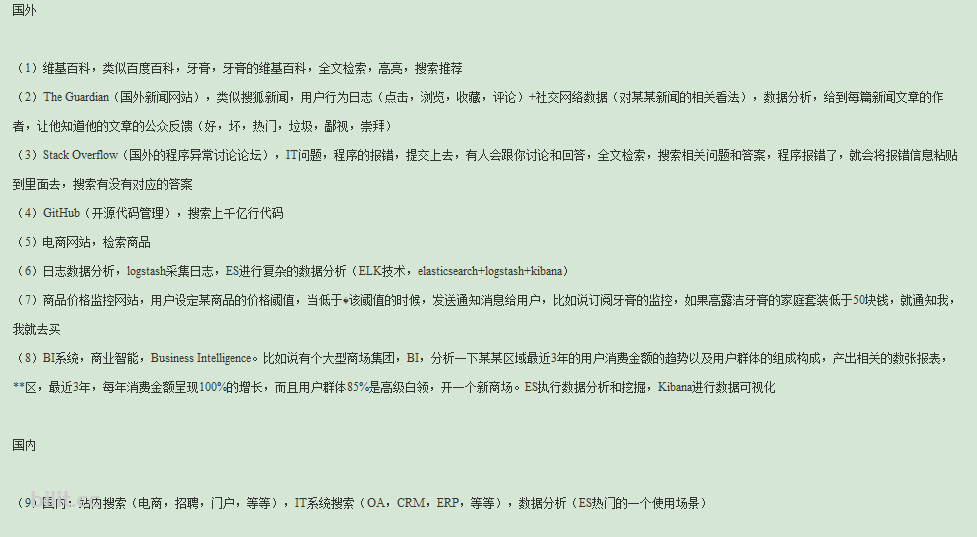
适用场景:
生态:ELK
Elasticsearch+Logstash+Kibana


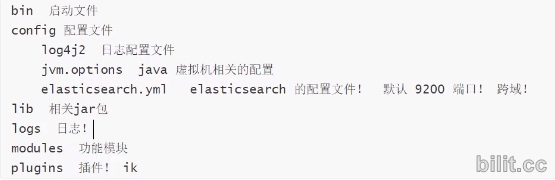
es目录结构:
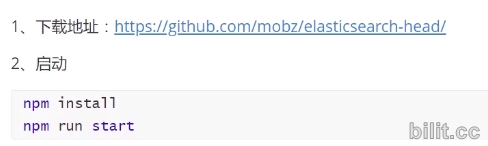
继续安装可视化界面,前端环境,nodejs,npm
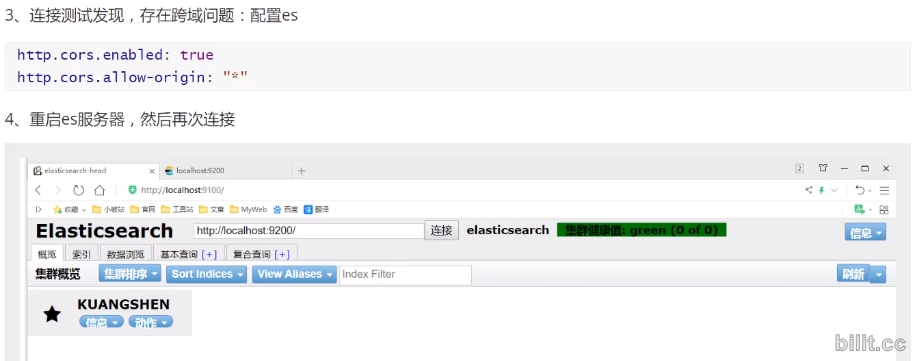
说明:第3步,更改的是elasticsearch的config目录下elasticsearch.yml文件
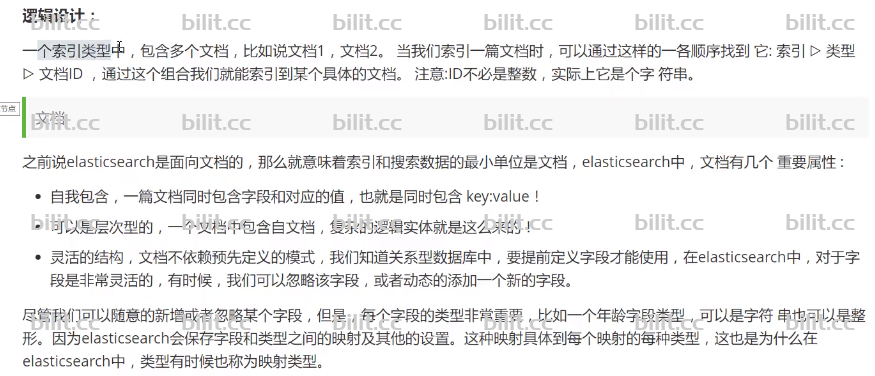
一些术语:
索引:库
文档:数据
kibana:使用kibana查询数据展示
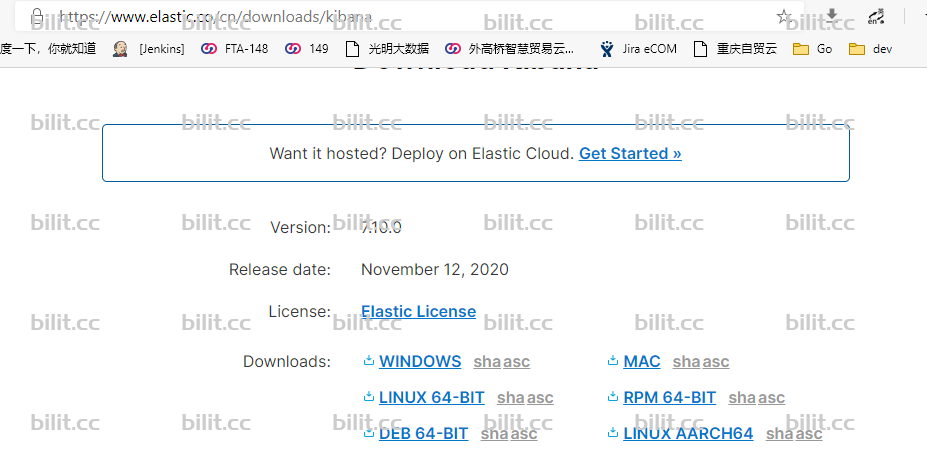
https://www.elastic.co/cn/elastic-stack
kibana版本要与Elasticsearch的版本一致。
wget https://artifacts.elastic.co/downloads/kibana/kibana-7.9.3-linux-x86_64.tar.gz
tar zxf kibana-7.9.3-linux-x86_64.tar.gz
进入config目录,编辑kibana.yml,
找到 elasticsearch.hosts: [“****:9200”] 改为已经启动的es服务
进入bin目录,./kibana –allow-root 直接执行,等待启动完成
放弃了,linux服务器太弱,启动太慢了,用了将近10分钟,改用本地windows的了。
kibana中文配置: /config/kibana.yml 最后一行:i18n.locale: “zh-CN”
windows版切换ok,启动ok
访问localhost:5601
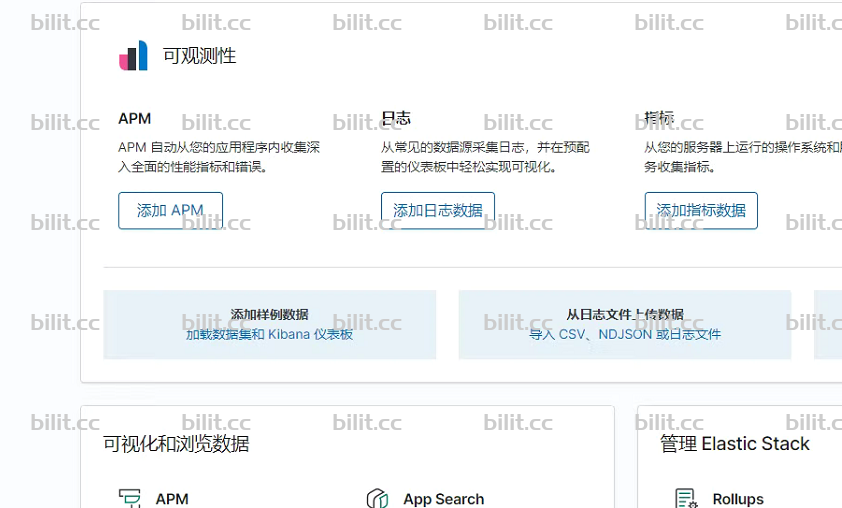
用的比较多的就是 开发工具菜单。
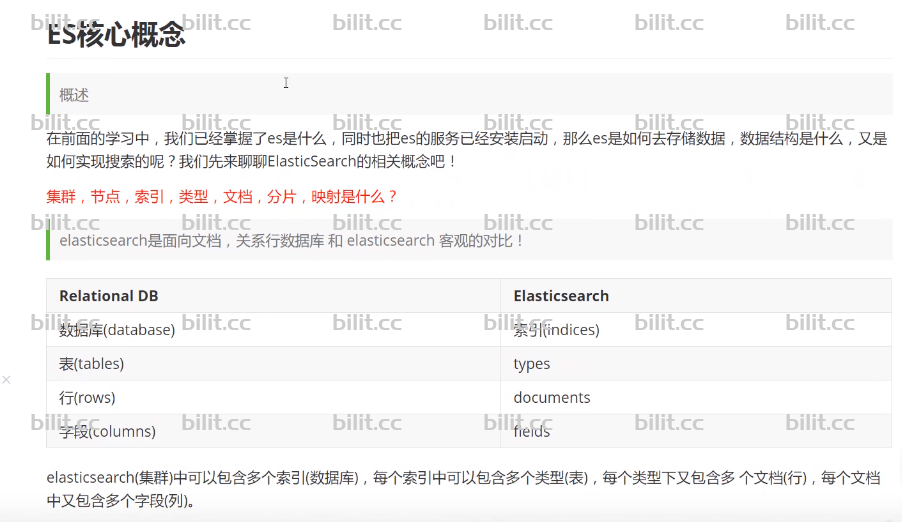
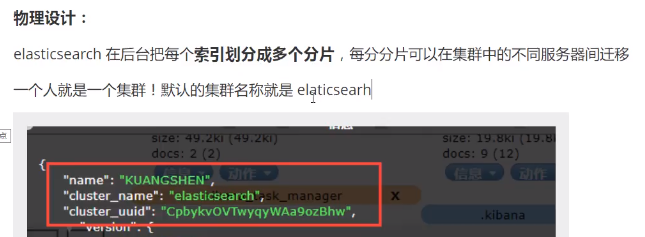
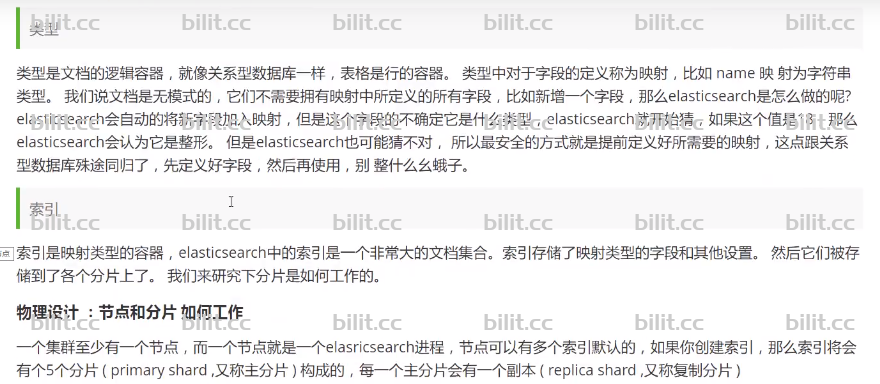
一些概念


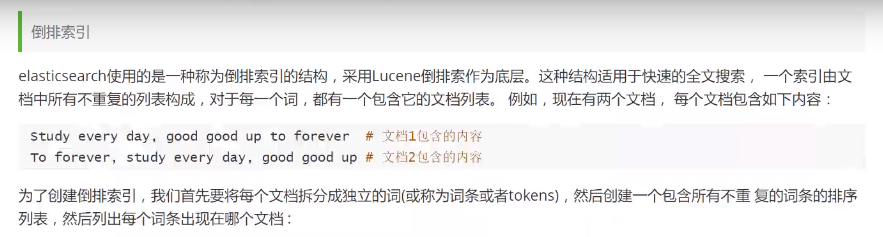
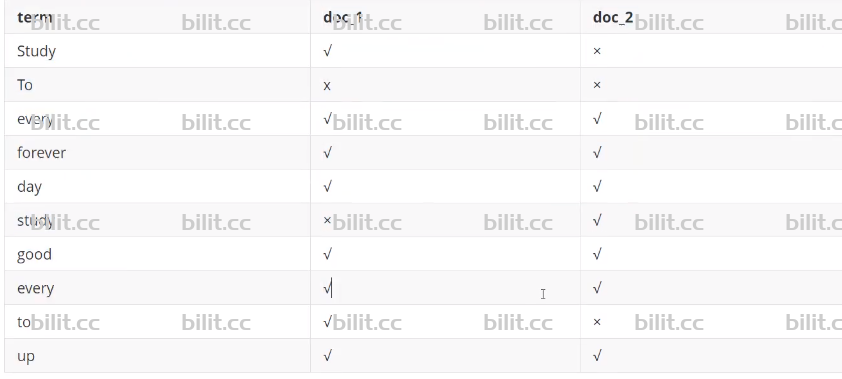
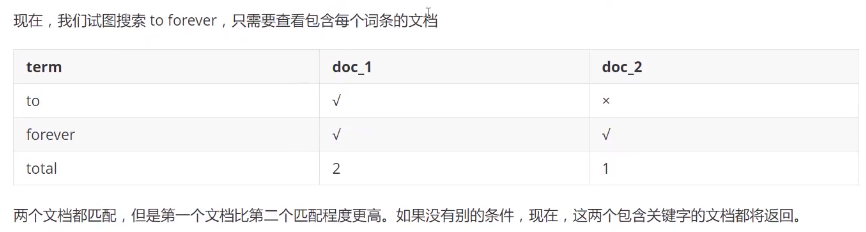
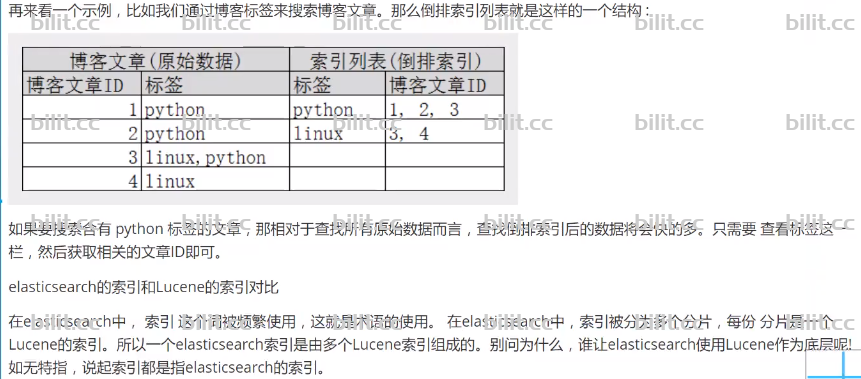
倒排索引:划重点
====================================================
ik分词器

ik分词器下载:
https://github.com/medcl/elasticsearch-analysis-ik
编译后的,可以直接用的下载地址:
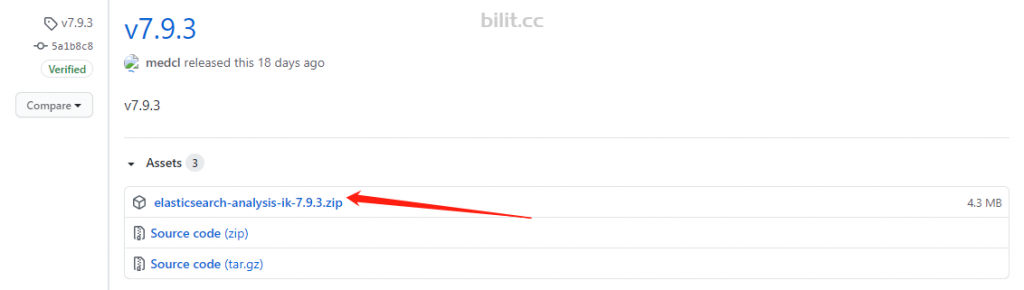
https://github.com/medcl/elasticsearch-analysis-ik/releases
我这里截图用的是7.9.3,配合elasticsearch的版本。
进入elasticsearch 的plugins目录
mkdir ik
cd ik
wget https://github.com/medcl/elasticsearch-analysis-ik/releases/download/v7.9.3/elasticsearch-analysis-ik-7.9.3.zip
unzip elasticsearch-analysis-ik-7.9.3.zip
删除zip文件,重启elasticsearch
启动好之后,验证是否加载了插件,进入bin目录,执行如下命令
sh elasticsearch-plugin list

有ik分词器,即可。
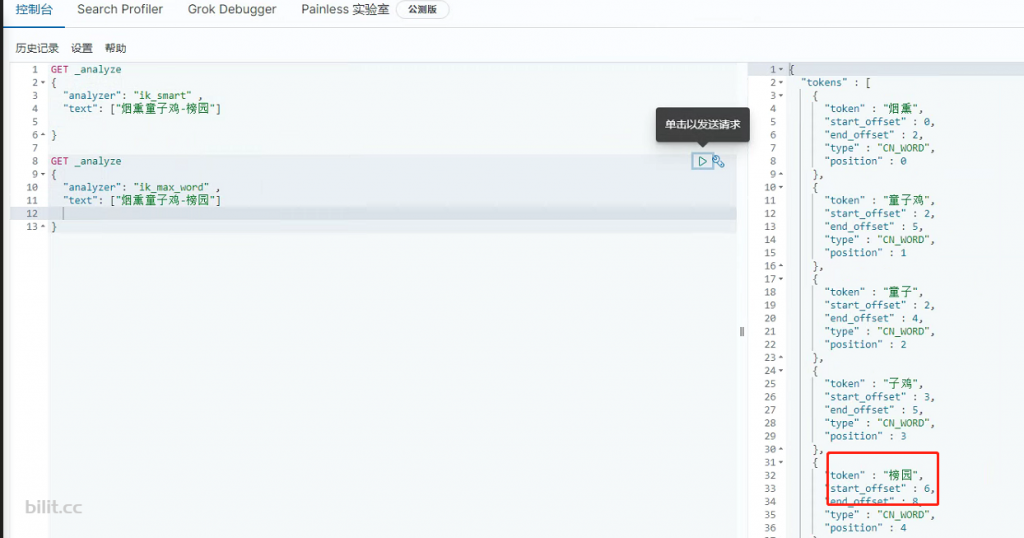
使用kibana测试ik分词器
ik_smart:最小切分
ik_max_word:最细粒度划分
切换到kibana的开发工具:
GET _analyze
{
“analyzer”: “ik_smart” ,
“text”: [“烟熏童子鸡”]
}
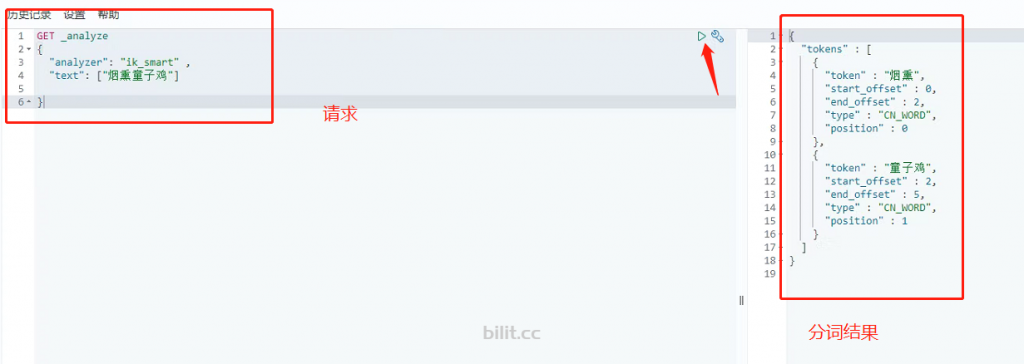
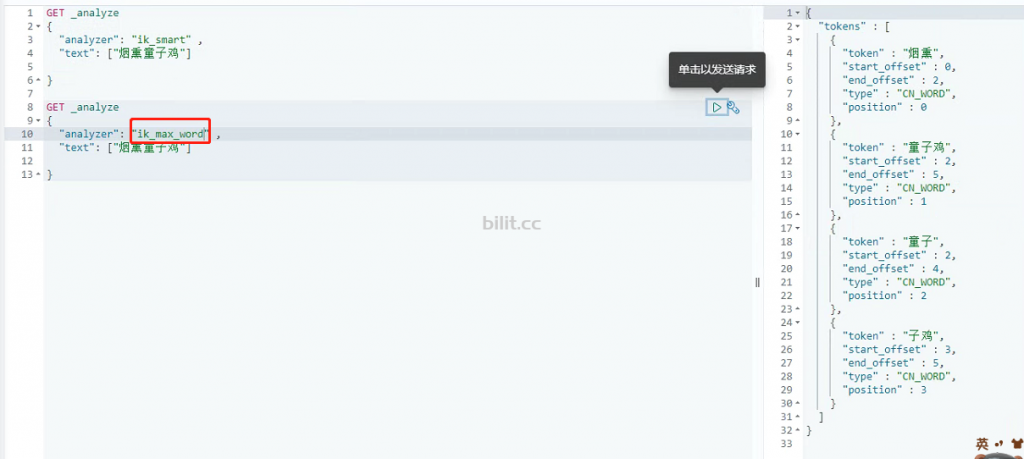
两种分词效果如上图示。
对于自定义配置,如何增加字典配置。
进入分词器目录,config/IKAnalyzer.cfg.xml
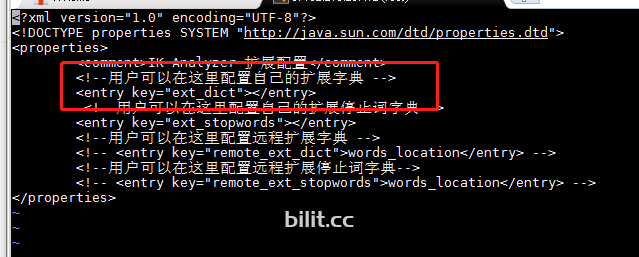
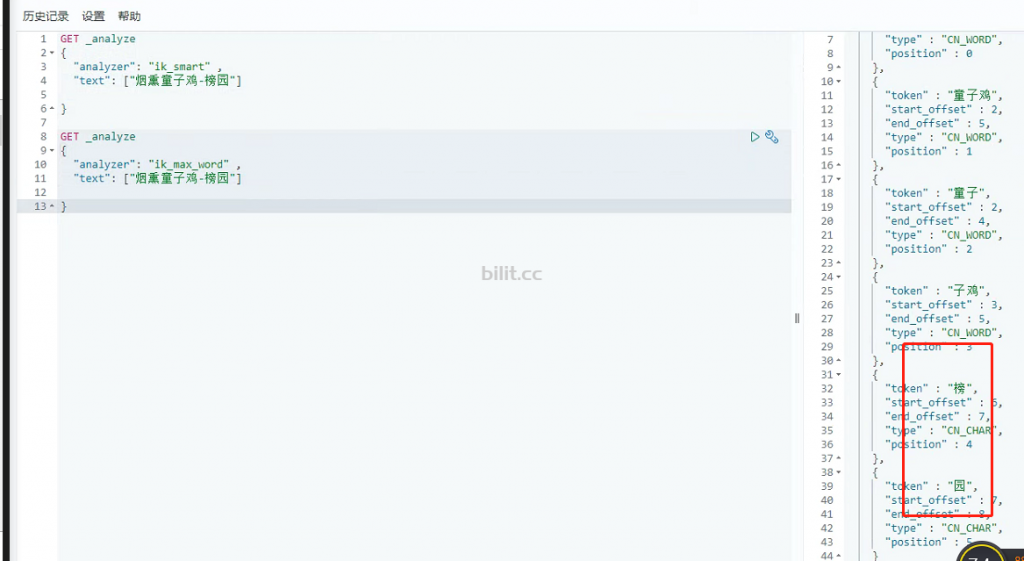
在config目录下新增一个test.dic,输入榜园

上图中改为<entry key=”ext_dict”>test.dic</entry>
效果:
====================================================
RestFul API & CRUD
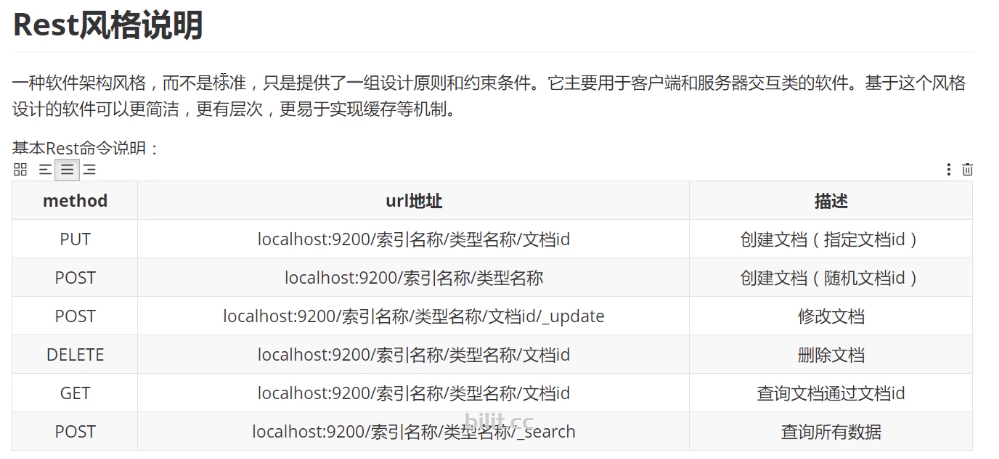
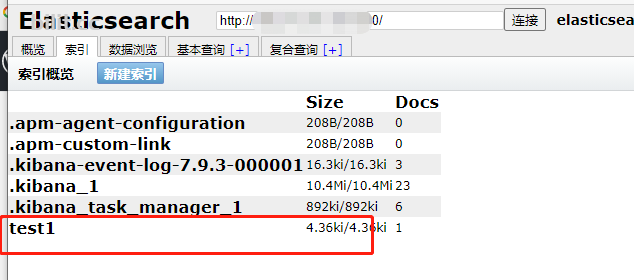
创建一个索引:
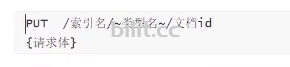
PUT /test1/type1/1
{
“name”:”榜园-测试”,
“desc”:”1234″
}
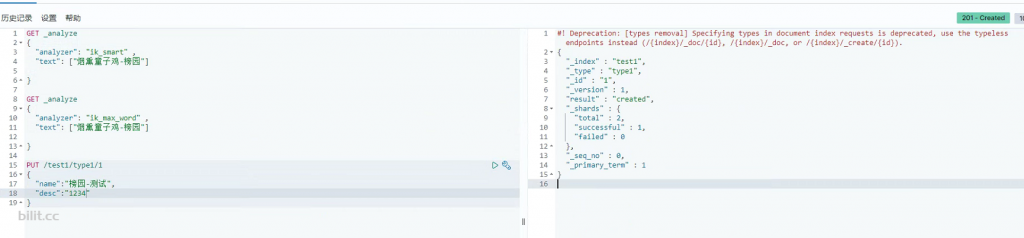
kibana上查看下:
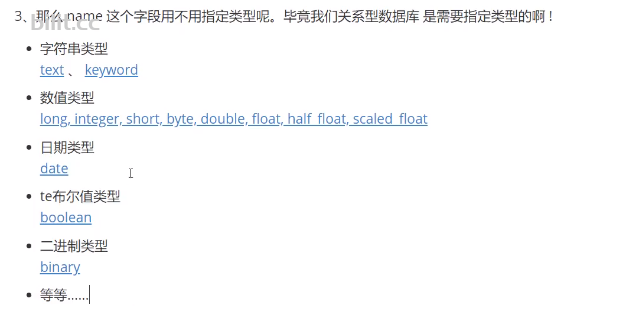
如何制定字段类型:创建索引规则
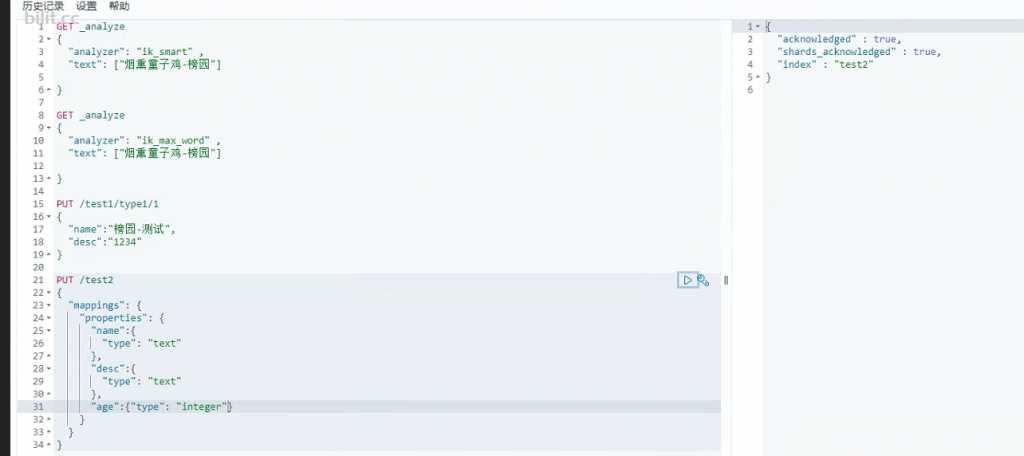
PUT /test2
{
“mappings”: {
“properties”: {
“name”:{
“type”: “text”
},
“desc”:{
“type”: “text”
},
“age”:{“type”: “integer”}
}
}
}
如果未指定类型,es会自动匹配类型。
Get命令:
GET /test1 获取索引
GET /test1/type1/1 获取文档

修改数据
方法一:PUT方式
PUT /test1/type1/1
{
“name”:”榜园-测试”,
“desc”:”12345″
}
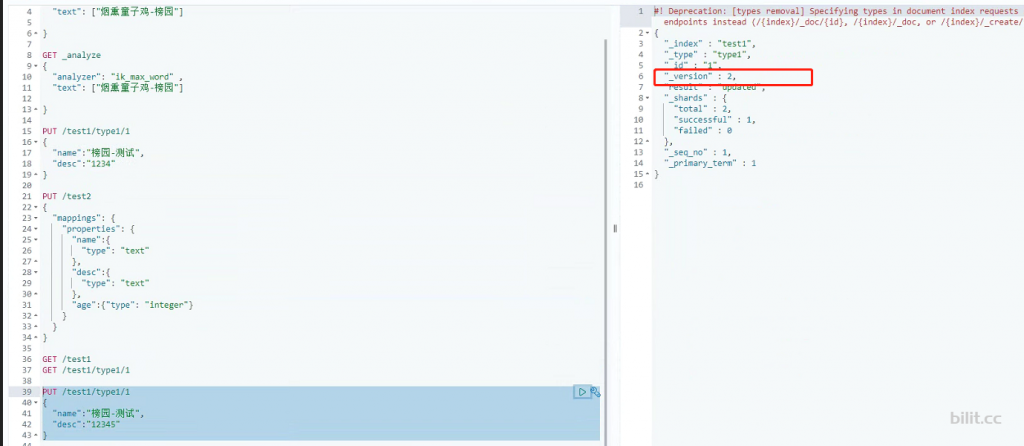
version有了变化,从1变成2.
方法二:POST方式
POST /test1/type1/1/_update
{
“doc”:{
“desc”:”1234567″
}
}
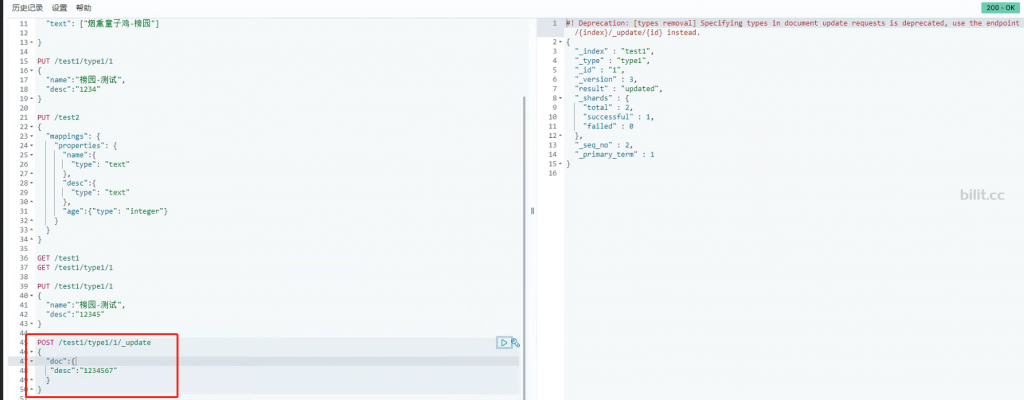
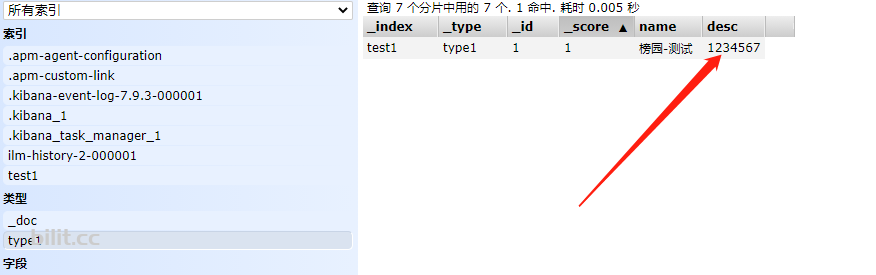
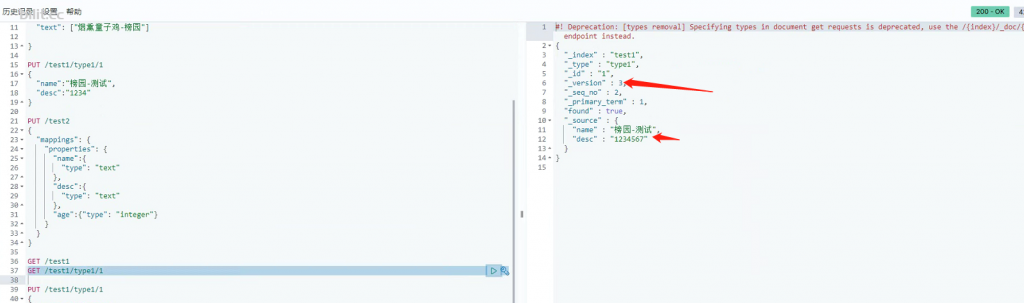
可以看到version变成了3,desc内容也随之改变
删除:DELETE命令 根据命令提供的索引还是文档来进行删除动作
DELETE test1/type1/1
DELETE test1
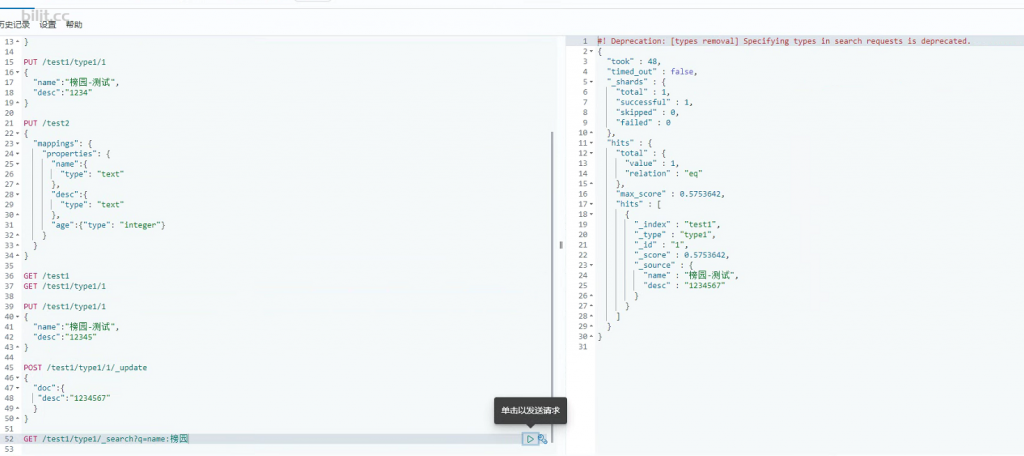
复杂操作:条件查询
GET /test1/type1/_search?q=name:榜园
排序,分页,高亮,模糊查询,精确查询
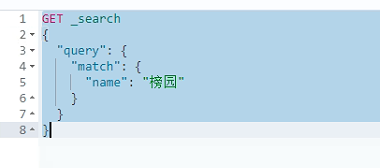
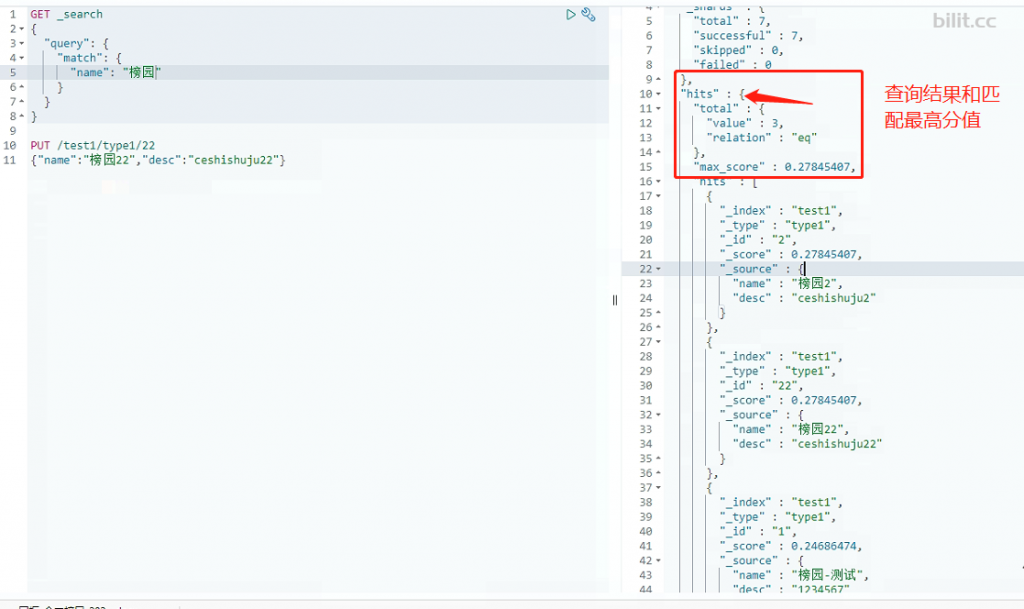
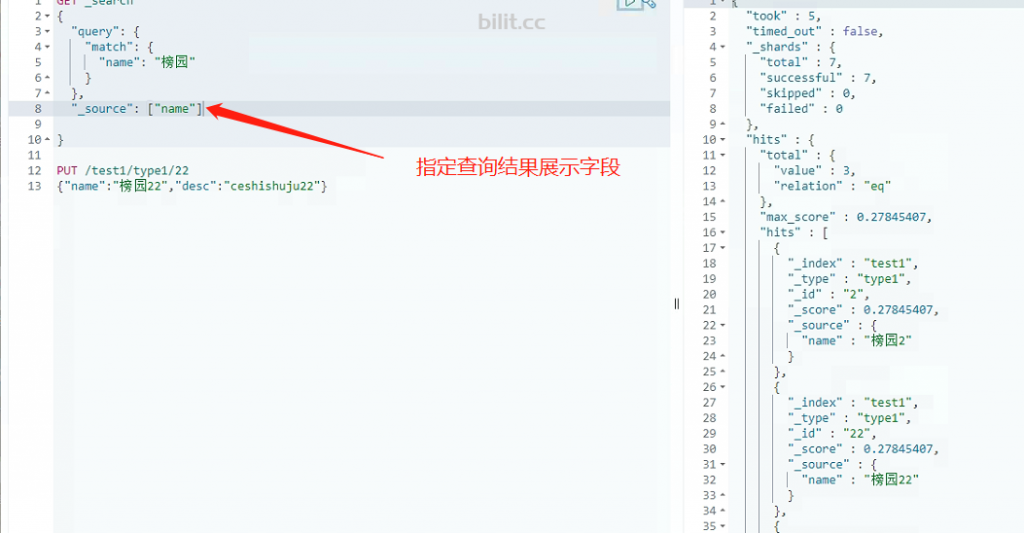
基本查询:
GET _search
{
“query”: {
“match”: {
“name”: “榜园”
}}}
排序:sort
分页:from,size
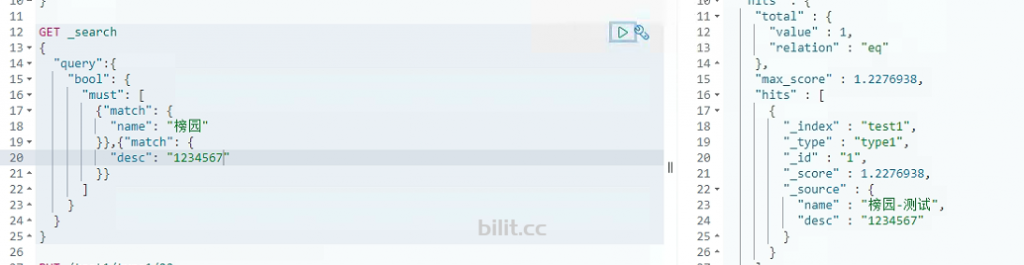
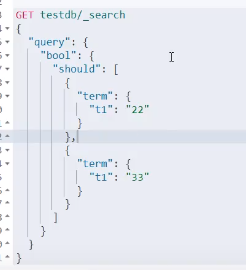
多条件查询:bool 方式,must命令类比and条件,should类比or条件,must not 类比 not, filter:range,gt >,gte >=, lt <, lte <=
多个查询关键字,关键字之间用空格分开
精确查询:term

term是精确查找
match使用分词器查找
两个类型:text-会被分词器解析,keyword-不会被分词器解析
多个条件查询:
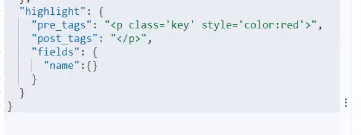
高亮查询:
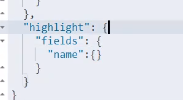
设置高亮样式
====================================================
Spring boot集成ES
官方文档:
Elasticsearch Clients | Elastic
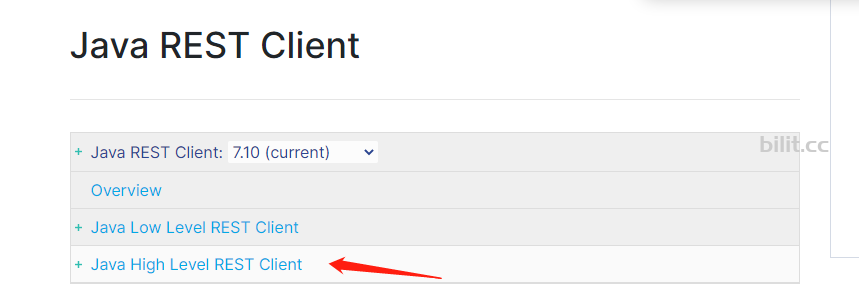
找到maven仓库配置
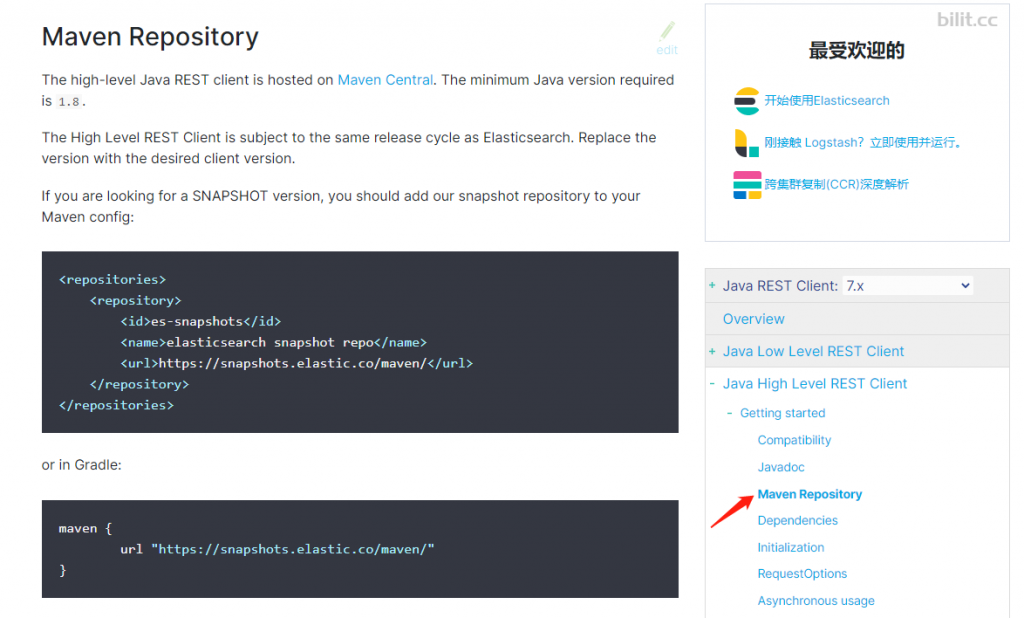
<dependency>
    <groupId>org.elasticsearch.client</groupId>
    <artifactId>elasticsearch-rest-high-level-client</artifactId>
    <version>7.11.0</version>
</dependency>

注意在java工程中使用的es high level版本要与es服务的版本一致
初始化ES client 对象:
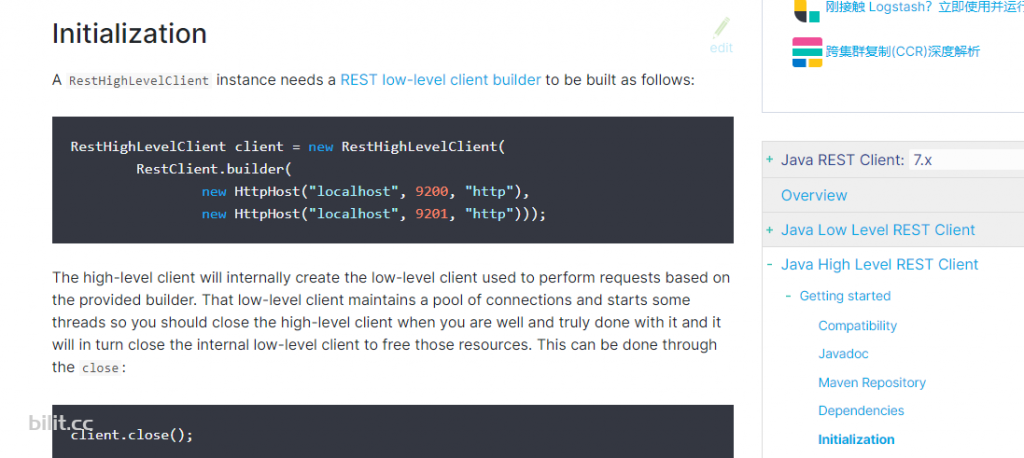
CRUD:TODO


发表评论